ServicesSurface Prep and Sanding
Surface Preparation and Sanding in Irvington, NJ
Paint shows every bump, ridge and old patch underneath it. We find those flaws, fill them, sand the surface smooth and leave a clean work area. You get photos of what we found and what we fixed, so you can see the wall before it gets covered.
What prep and sanding actually fixes
Most bad-looking walls are not bad drywall. They are bad prep. A nail pop that was painted over, a patch that was never feathered out, a seam with a ridge of dried mud along it. Fresh paint makes all of that easier to see, not harder.
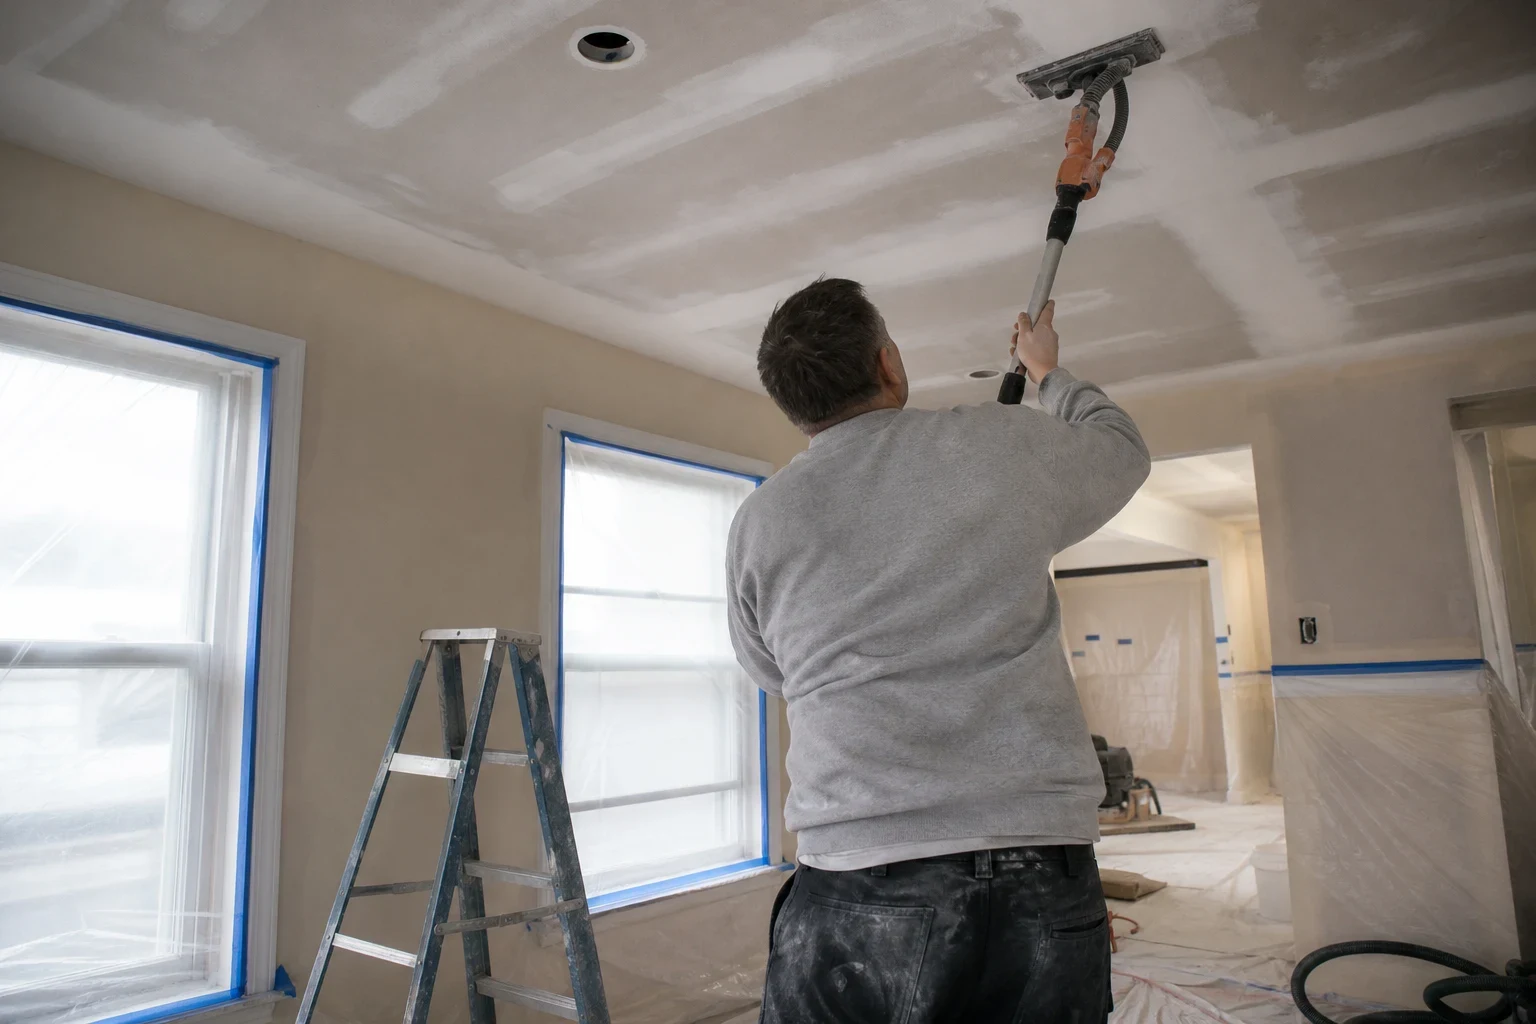
Surface preparation is the work between a damaged or rough wall and a wall that is ready for paint. We scrape loose material, fill holes and dents, skim where needed and sand until a light held flat against the wall shows no shadows.
We photograph the wall before we start, again once the flaws are opened up and filled, and again after the final sanding. If you are a landlord or property manager, that record shows exactly what was done in a unit you may not see in person.
What the prep work includes
A low-angle light check
We set a bright lamp close to the wall so the beam skims across the surface. Dents, ridges and old patches cast small shadows that daylight hides. Each one gets a pencil mark so you can see it too.
Scraping and cleanup of loose material
Peeling paint, torn paper facing and crumbly old filler come off first. New compound does not hold on loose material, so this step is never skipped.
Filling and skim coating
Small holes and dents get filled. Torn paper gets sealed before any mud goes on, so it does not bubble later. Wide uneven areas may get a thin skim coat to bring them flat.
Sanding with dust control
We use sanders hooked to a vacuum where we can, and fine hand sanding at corners and edges. Before the first pass, drop cloths go down and anything left in the room gets wrapped. On heavy sanding jobs we hang plastic across the opening to keep dust out of the rest of your home.
Clean surface, ready for primer
We wipe down the dust and do one last light check. The wall is left smooth and clean, ready for primer and paint.
Signs your walls need prep before paint
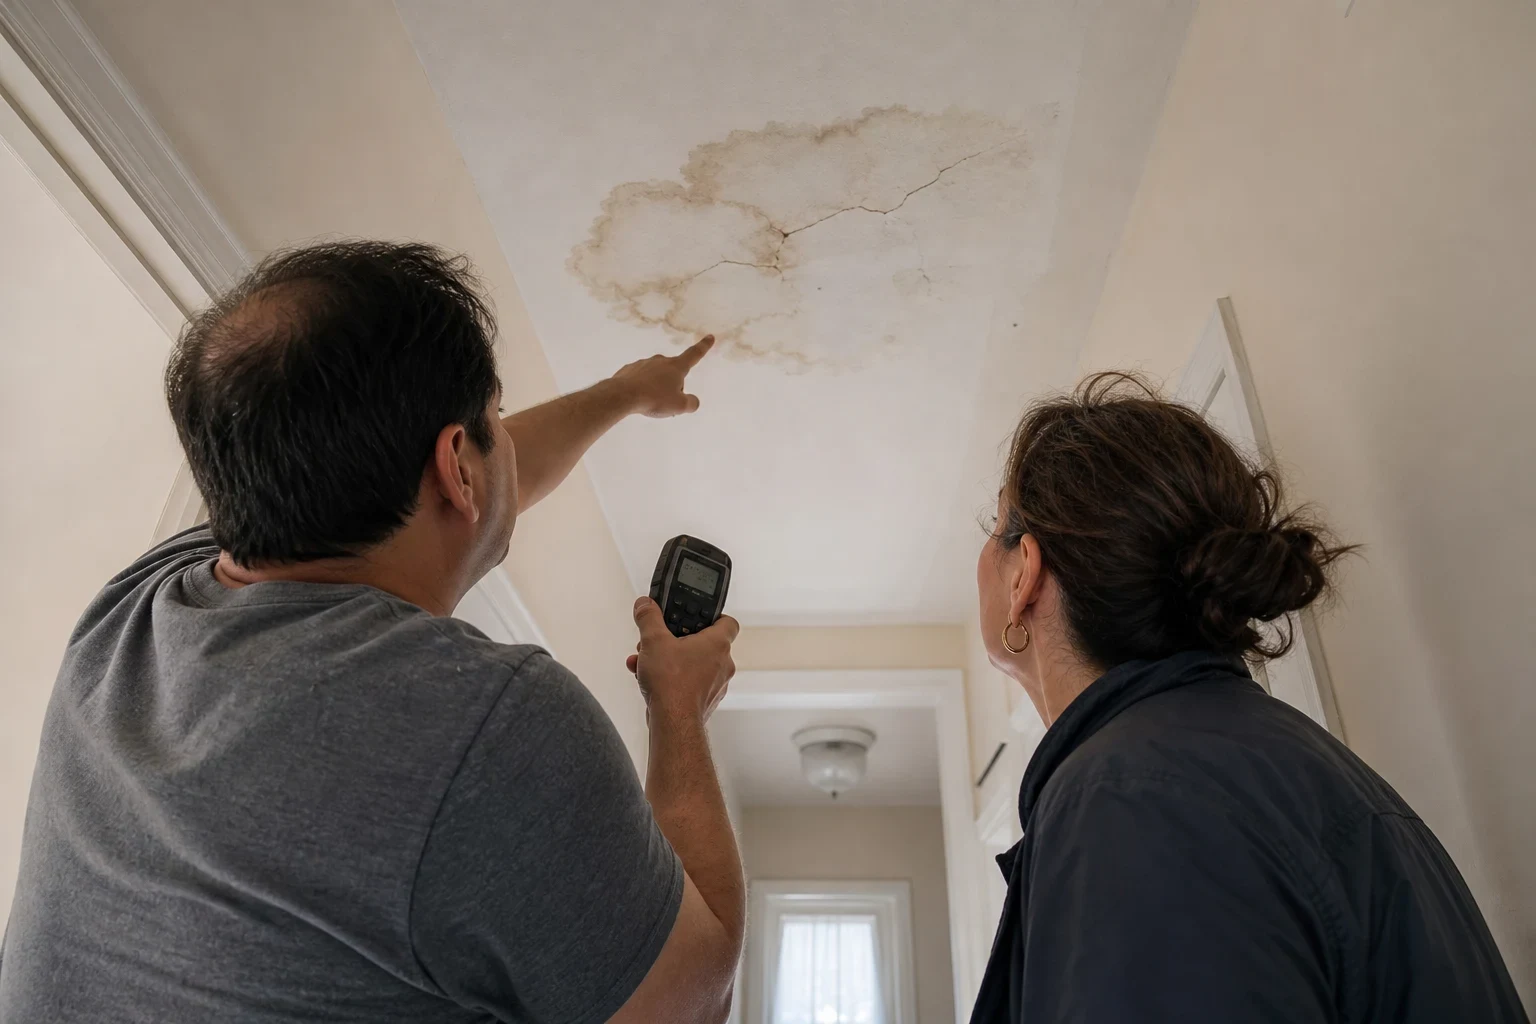
- You can see old patches through the paint
- A patch that shows as a shiny or raised square was not sanded and feathered. Another coat of paint will not hide it.
- Seams look like lines across the wall
- Ridges or shallow trenches along taped joints catch light. They need to be filled or knocked down and sanded flat.
- Nail pops and small dents
- Little round bumps or craters show up after a house settles. Each one needs to be reset or filled, then sanded.
- Bubbling or torn brown paper
- Stripping wallpaper or pulling off tape can rip away the drywall's paper face and leave the brown layer exposed. Paint that goes straight onto that layer soaks in and blisters.
- A rough, gritty feel
- Run your hand across the wall. If it feels sandy or lumpy, the last job skipped the final sanding.
How a prep day goes
- 1
We walk the room with you
We look at the walls under a work light and point out what we see. Nothing gets touched until we have a record of how the walls looked when we arrived.
- 2
Cover and contain
Drop cloths go down first. We push furniture to the middle of the room or wrap it in plastic. When a lot of sanding is planned, we tape over vents and close off the room.
- 3
Repair and fill
We scrape, seal torn paper, fill and skim. Joint compound needs time to dry, and humid summer days in Irvington can slow it down, so bigger jobs may run over two visits.
- 4
Sand and check
Once the compound is dry, we sand smooth and check again under the light. Spots that still show get another thin coat and another pass.
- 5
Clean up and send photos
We vacuum, wipe down and leave a clean work area. You get the before, during and after shots so you have proof of the work.
What sets the price for prep and sanding
No two walls need the same amount of work, so there is no set per-room rate. We look at the surfaces first. Then you get a price with each part of the job listed on its own line.
- How much area needs work
- A few nail pops in one wall is a short job. Every wall in a room with old patches and rough seams takes much longer.
- Spot filling versus skim coating
- Filling small flaws is quick. Skim coating a whole wall flat means several coats, more drying time and more sanding.
- Condition of the surface
- Torn paper, peeling paint or several layers of old patches all need extra steps before new compound will hold.
- Ceilings and high walls
- Overhead sanding is slower and needs ladders or staging. Stairwells and tall rooms take more setup time.
What people ask before we sand
- Is sanding going to leave dust all over the house?
- A little always gets into the air, but we keep it in the room. Vacuum-connected sanders do most of the work, floors and furniture stay covered, and big jobs get plastic over the doorway. Before we leave, we vacuum and wipe everything down.
- Can the walls be painted the same day?
- Sometimes, if the work was light and the compound dried fully. Deeper fills and skim coats need more drying time. We will tell you when the surface is ready for primer.
- My house is older. Is sanding old paint safe?
- Paint put on before 1978 can contain lead, and older houses often have it hiding under newer coats. We raise the question before we sand any old paint. Painted surfaces do not get dry-sanded until it is settled.
- Do you do the painting after?
- We handle paint touch-ups on areas we repaired. For a full repaint, we leave the walls smooth, clean and ready for primer so the next coat goes onto a good surface.
- Why do I need photos of prep work?
- Prep gets covered up by paint, so you never see it again. The pictures show what was wrong and what was fixed. Landlords and property managers often keep them with the unit records.
Get the walls right before the paint goes on
Tell us what the walls look like and which rooms you are working on. We will talk through the job and set a time to come look.