ServicesDrywall Finishing
Drywall Finishing in Irvington
Once the sheets are up, the real finishing starts. We bed tape in the joints, build up corners and screw heads, sand each coat of compound flat, and leave walls and ceilings ready for primer. Photos after every coat let you follow along even when you are at work.
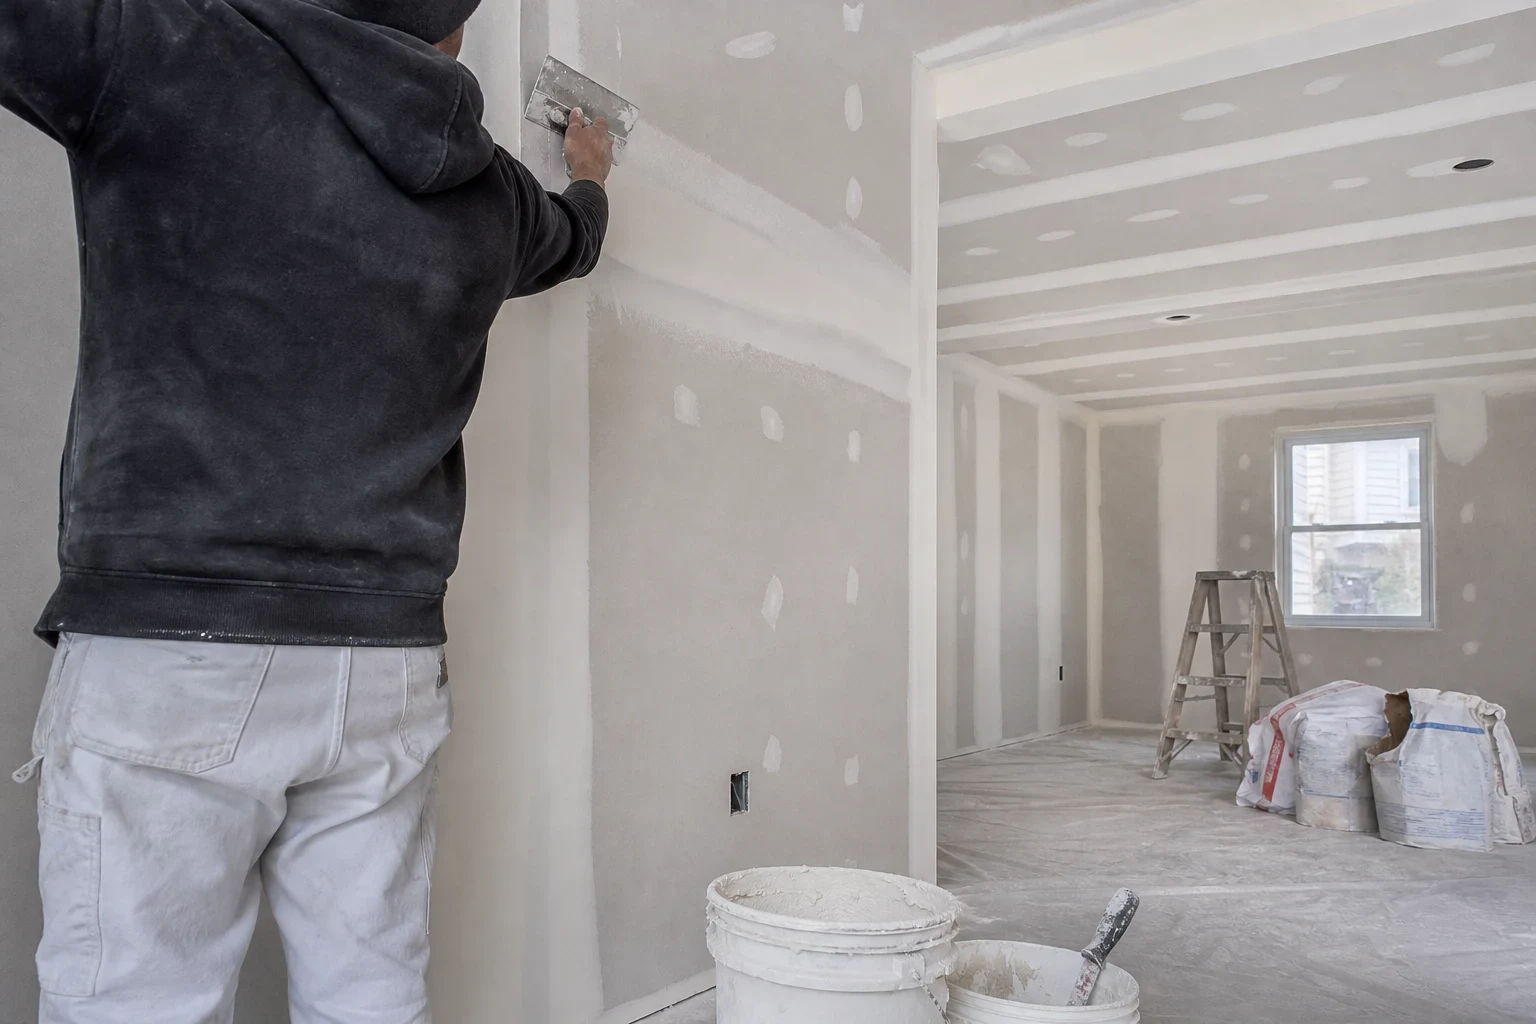
What drywall finishing is and when you need it
Finishing is the taping and mudding that turns bare sheets of drywall into a wall that looks like one piece. Every seam, screw head and corner gets covered, built up and feathered out. Done well, you never see where one sheet ends and the next begins.
You need it after new drywall goes up, after a large section is cut out and replaced, or when a past job was rushed and the seams show through the paint. If your sheets are not up yet, our drywall hanging work covers that part first.
Most of the work is waiting. Compound has to dry between coats, and sanding too soon causes trouble later. We plan the schedule around that and tell you up front how many visits it will take.
What we do on a finishing job
- Paper tape on flat joints and inside corners
- Paper tape goes into a bed of compound along each flat joint and inside corner. Where a gap is wide or a joint feels weak, the first pass uses setting-type compound. It cures hard by chemical reaction instead of air drying, so it holds better over time.
- Outside corner bead
- Every outside corner gets new bead, metal or paper-faced, checked for straight and buried in compound. Furniture and vacuums hit these edges most, so they need to be solid.
- Three coats, each wider than the last
- A tape coat, a fill coat and a finish coat, feathered wider each time so the seam blends into the flat of the sheet. Screw heads get their own passes.
- Sanding with dust control
- We sand between coats and after the last one, using vacuum-attached sanders where we can. Floors and doorways are covered in plastic to keep a clean work area.
- Skim coat when the job calls for it
- For rooms with strong side light or a glossy paint planned, we can skim the whole surface. This is often called a level 5 finish, and we will tell you plainly if you need it or not.
- Photos at each stage
- We take pictures after taping, after each coat and after the final sanding. You see what was done before the next step covers it.
Signs your drywall needs finishing work
Seams show through the paint
Long lines or ridges at every sheet joint mean the seams were not built up and feathered wide enough.
Tape is bubbling or peeling
Loose tape usually means too little compound went under it. It needs to be cut out and re-bedded, not painted over.
Screw pops and dimples
Small bumps or round dents in a row are screw heads showing. They need to be reset and covered again.
Cracked or dented outside corners
Corner bead that is cracked, dented or pulling away gets worse with every bump. Replacing it now saves a bigger repair later.
New sheets that are hung but bare
If a contractor hung drywall and left, or you hung it yourself, the finishing still has to be done before anyone can prime and paint.
How a finishing job runs
- 1
Look and plan
We walk the room, check how the sheets were hung and note any loose screws or wide gaps. Then we explain how many coats and visits it will take.
- 2
Protect the room
Floors get covered, doorways get plastic, and outlets and vents get taped. We set up so dust stays in the work area.
- 3
Tape and first coat
Seams, corners and screw heads get their first coat. We photograph the taped room before it dries and send you the pictures.
- 4
Fill, finish and sand
We come back once each coat is dry, apply the next and sand between. Damp weather in summer can add a day of drying, and we tell you if it does.
- 5
Final check and cleanup
We check the walls with a work light from the side to catch any low spots, touch them up, sand and vacuum. You get a last set of pictures of the finished surface.
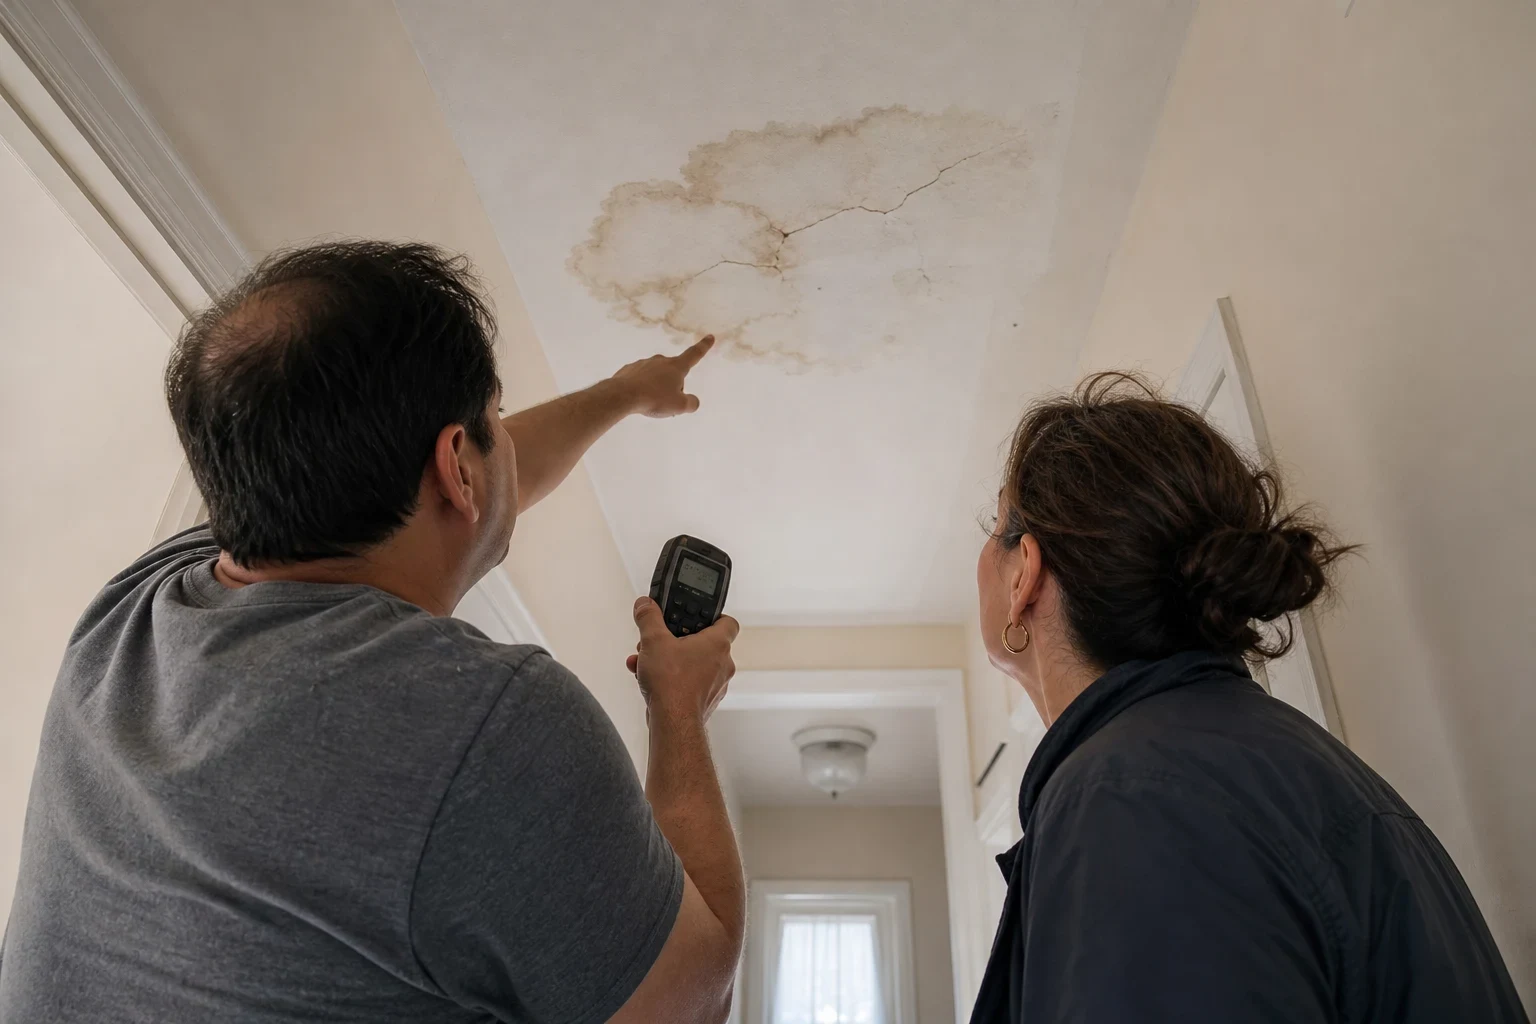
What moves the price
Finishing is priced on the surface area and how smooth it needs to end up. We look at the room first and walk you through what drives the number before any work starts. Here is what makes the biggest difference.
- Square footage and seams
- More sheets mean more seams, corners and screw heads to cover. Ceilings take longer than walls because of the reach.
- Level of finish
- A standard three-coat finish costs less than a full skim coat. Rooms with big windows or glossy paint plans may need the skim.
- How well it was hung
- Wide gaps, missing screws or sheets that are not flush add prep time. We point these out with pictures before we start.
- Height and access
- Stairwells and vaulted ceilings need tall ladders or a plank setup. A room packed with furniture means moving and covering things first, which adds hours to the job.
- Number of trips
- Each coat has to dry, so most jobs take several visits. A small room and a full basement differ a lot in how many trips it takes.
Drywall finishing questions
Something not covered here? (973) 447-8743
How many days will the finishing take?
Plan on three or four trips for a typical room, since every coat has to dry before we put on the next. A small room can be done within a few days. Several rooms or a whole basement will run longer, and humid weather slows the drying.
How much dust will there be?
Sanding makes dust, there is no way around that. We cover floors, close off doorways with plastic and use vacuum-attached sanders where we can. We vacuum at the end of each visit so the room is usable between coats.
Do I need a level 5 finish?
Usually not. A standard finish works for most rooms with flat or eggshell paint. A skim coat makes sense for walls hit by strong side light or getting a shiny paint, and we will tell you honestly which one your room needs.
Can you finish drywall that another crew hung?
We can. Before any tape goes on, we go over the sheets for loose screws, uneven edges and wide gaps, and show you pictures of anything that needs attention. Those get corrected first so the finish does not crack later.
Is the wall ready to paint when you leave?
The surface is sanded smooth and ready for primer. New compound and bare paper soak up paint differently, so it needs a coat of primer before the finish paint goes on.
Get smooth walls without the guesswork
Tell us about the room, what is hung and what you want it to look like. We will explain the coats, the visits and the cost by phone, and you will get pictures after each step once we start.